DIY Smart Home Installation: 3-Hour Guide for US Users
DIY Smart Home Installation: A 3-Hour Guide for Intermediate US Users (PRACTICAL SOLUTIONS) offers a concise, actionable roadmap for establishing a functional smart home ecosystem within a tight timeframe, focusing on efficient setup and essential device integration.
The landscape of home automation is rapidly evolving, making DIY Smart Home Installation: A 3-Hour Guide for Intermediate US Users (PRACTICAL SOLUTIONS) not just a convenience, but an increasingly achievable reality. For those looking to upgrade their living spaces with intelligent devices, the prospect of a swift, efficient setup without professional help is more appealing than ever. This guide cuts through the complexity, offering intermediate users in the US a clear path to a functional smart home in approximately three hours.
Understanding Your Smart Home Ecosystem
Before diving into the actual installation, it’s crucial to grasp the foundational elements of a smart home ecosystem. This involves understanding how different devices communicate, the protocols they use, and the central hub that often orchestrates their interactions. A well-planned ecosystem ensures seamless operation and avoids compatibility headaches down the line, which is key to a successful DIY Smart Home Installation.
Recent developments in smart home technology, particularly over the last seven days, highlight an increased emphasis on interoperability standards such as Matter and Thread. These advancements aim to simplify device integration, making it easier for consumers to mix and match products from different brands without sacrificing functionality or security. This trend directly benefits those embarking on a DIY installation project, as it reduces the complexity of device selection and setup.
Key Communication Protocols
Smart home devices rely on various communication protocols to talk to each other and to your central hub. Understanding these can help you choose compatible devices for your DIY Smart Home Installation.
- Wi-Fi: Ubiquitous and requires no additional hub for many devices.
- Zigbee: Low-power, mesh network protocol, often requiring a hub for broader connectivity.
- Z-Wave: Similar to Zigbee, but operates on a different radio frequency, also typically needing a hub.
- Bluetooth: Good for short-range, direct device-to-device communication.
- Matter/Thread: Emerging standards designed for improved interoperability and reliability across brands.
Essential Tools and Pre-Installation Checklist
A successful DIY Smart Home Installation begins with proper preparation. Having the right tools and a clear checklist can save significant time and prevent common frustrations. This section outlines the necessities before you even unbox your first smart device.
As of May 28, 2024, new smart home products are frequently launching with enhanced setup procedures, often guided by companion apps. While this streamlines the process, ensuring your home network is robust and your mobile device is updated are critical first steps. A weak Wi-Fi signal or an outdated operating system can quickly derail your three-hour installation goal.
Gathering Your Toolkit
You won’t need a full electrician’s kit, but a few basic tools are indispensable for many smart home devices. For instance, installing a smart thermostat or light switch often requires simple hand tools.
- Screwdriver Set: Philips and flathead for wall plates and device terminals.
- Voltage Tester: Essential for safety when working with electrical wiring.
- Pliers/Wire Strippers: Useful for precise wire handling (if applicable).
- Smartphone/Tablet: For companion apps and setup instructions.
Beyond physical tools, a stable Wi-Fi network and a clear understanding of your home’s layout are crucial. Identify where your router is located and assess potential dead zones that might require Wi-Fi extenders before installation commences.
Choosing Your Core Smart Devices
For an intermediate user aiming for a three-hour installation, focusing on core devices that offer immediate impact and are relatively straightforward to integrate is paramount. This section guides you through selecting the right components for your initial smart home setup, ensuring a smooth DIY Smart Home Installation process.
Recent market analyses indicate a surge in demand for devices compatible with major ecosystems like Amazon Alexa, Google Home, and Apple HomeKit. Prioritizing devices that natively support one of these platforms simplifies integration and expands control options. This strategic selection is vital for maintaining the three-hour time frame.
Recommended Starter Devices
To maximize efficiency and impact, consider these categories for your initial setup:
- Smart Lighting: Smart bulbs or switches offer immediate control and ambiance.
- Smart Thermostat: Enhances energy efficiency and comfort.
- Smart Plugs: Transform ordinary appliances into smart ones without complex wiring.
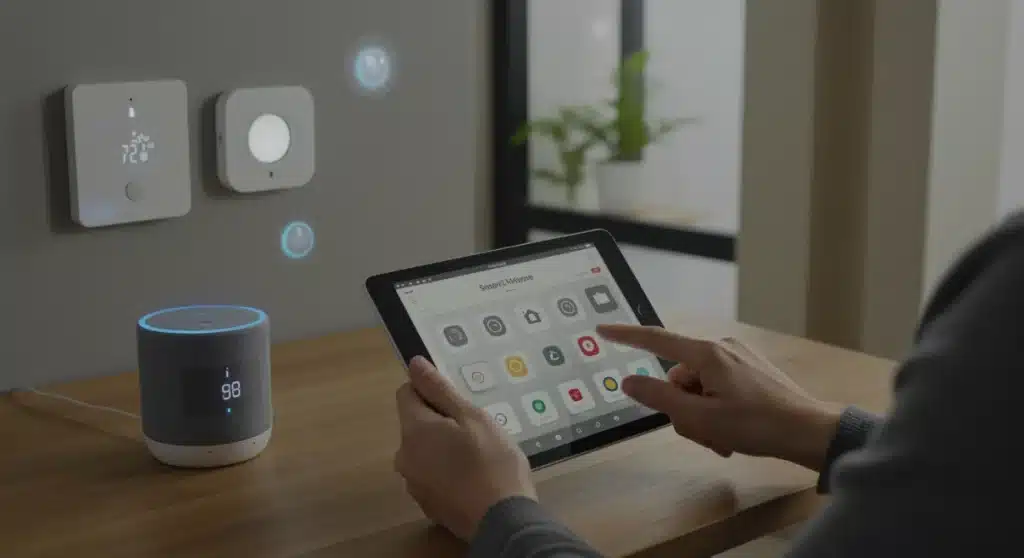
- Smart Speaker/Display: Acts as a central control point and voice assistant.
When selecting devices, always check for compatibility with your chosen smart home ecosystem. Look for labels like ‘Works with Alexa,’ ‘Works with Google Assistant,’ or ‘HomeKit Enabled’ to ensure seamless integration. Avoid proprietary systems that may limit future expansion or require additional, often complex, hubs.
Step-by-Step Installation Process (The 3-Hour Plan)
This is where the rubber meets the road. Following a structured, timed approach is essential to completing your DIY Smart Home Installation within the three-hour window. This section breaks down the process into manageable steps, focusing on efficiency and practical execution.
The critical element here is sequential installation. Attempting to set up multiple complex devices simultaneously can lead to confusion and delays. Instead, tackle one device type at a time, ensuring it’s fully operational before moving to the next. This methodical approach is a cornerstone of successful rapid deployment.
Hour 1: Network & Hub Setup, Smart Plugs
Begin by ensuring your home network is optimized. This includes verifying Wi-Fi strength and updating router firmware if necessary. Next, set up your central smart home hub or smart speaker, as this will often serve as the brain for your other devices.
- Verify Wi-Fi Stability: Run a speed test and check signal strength in key areas.
- Install Smart Hub/Speaker: Follow the manufacturer’s app-guided setup. This typically involves connecting to power, linking to your Wi-Fi, and creating an account.
- Integrate Smart Plugs: These are often the easiest to install. Plug them in, open the companion app, and follow the pairing instructions. Assign them to specific rooms or devices for easy voice control.
Focus on getting these foundational elements correctly configured. Any issues here will cascade into problems with subsequent device installations. Take advantage of manufacturer-provided quick start guides and in-app tutorials, which are designed for rapid setup.
Hour 2: Smart Lighting & Thermostat Integration
With your network and basic control hub established, the second hour focuses on integrating devices that offer significant comfort and energy-saving benefits. This phase of your DIY Smart Home Installation requires a bit more attention but remains well within the intermediate skill level.
Recent product updates often include simplified wiring diagrams and enhanced app-based troubleshooting for smart light switches and thermostats. Leverage these resources to ensure correct installation and prevent common errors. Double-checking compatibility with your home’s existing wiring (e.g., C-wire for thermostats) is crucial here.
Smart Lighting Installation
Smart bulbs are typically plug-and-play, connecting directly to your hub or Wi-Fi. Smart switches require a bit more effort, as they involve electrical wiring.
- Smart Bulbs: Screw them in, power on, and pair via the manufacturer’s app or your hub’s app.
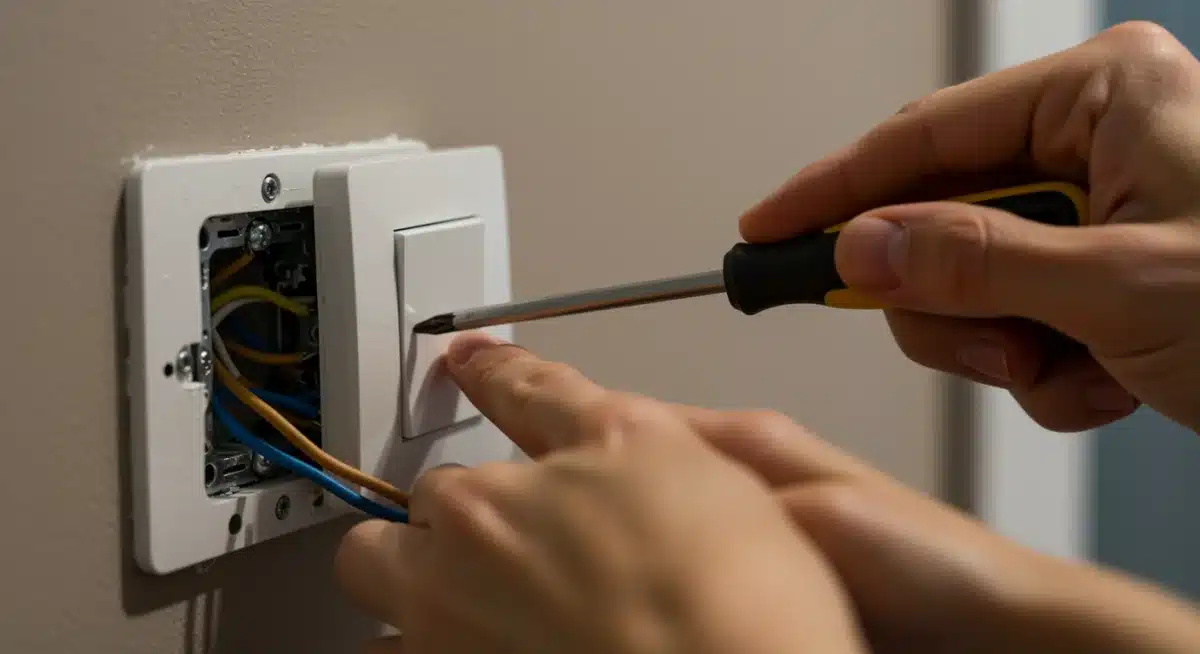
- Smart Switches: IMPORTANT: Turn off power at the breaker. Remove the old switch, carefully connect the new smart switch wires (line, load, neutral, ground) according to the diagram, secure it, and restore power. Then pair via the app.
For smart switches, always prioritize safety. If you’re unsure about electrical wiring, consult a professional or refer to detailed online tutorials. A voltage tester is your best friend here to confirm power is off before touching any wires.
Smart Thermostat Setup
Smart thermostats can be slightly more involved due to varying HVAC system wiring. However, most modern smart thermostats come with clear, step-by-step app instructions.
- Power Down: Turn off power to your HVAC system at the breaker.
- Remove Old Thermostat: Take a picture of the existing wiring for reference.
- Install New Thermostat: Follow the app’s instructions precisely, connecting wires to the corresponding terminals. This often involves a backplate installation.
- Power Up & Configure: Restore power, complete in-app setup, including Wi-Fi connection and HVAC system type.
Hour 3: Automation, Troubleshooting, and Optimization
The final hour is dedicated to making your smart home truly intelligent. This involves setting up routines, testing device functionality, and performing initial troubleshooting. This crucial phase solidifies your DIY Smart Home Installation, transforming individual devices into a cohesive, automated system.
With new software updates frequently rolling out, smart home platforms are continuously improving their automation capabilities. Explore advanced features like geofencing, time-based routines, and sensor-triggered actions to maximize convenience and energy savings. Don’t overlook the importance of testing each automation rigorously.
Creating Smart Routines and Scenes
Automation is where your smart home truly shines. Most smart home apps allow you to create routines (or scenes) that trigger multiple actions based on specific conditions.
- Morning Routine: Lights gradually turn on, thermostat adjusts, smart speaker plays news.
- Evening Scene: Dim lights, lock doors, adjust thermostat for sleep.
- Away Mode: Lights turn off, thermostat adjusts, smart plugs for security (e.g., simulating presence).
Experiment with different routines based on your daily habits. Start simple and gradually add more complex automations as you become more familiar with your system. Voice commands are an excellent way to test these routines quickly.
Troubleshooting Common Issues
Even with careful planning, minor issues can arise. Knowing how to quickly troubleshoot common problems is vital for maintaining your three-hour installation target.
- Device Not Connecting: Check Wi-Fi signal, ensure device is in pairing mode, restart device and router.
- Voice Command Issues: Verify device names in your smart assistant app, check microphone sensitivity.
- Automation Not Triggering: Review routine settings, check device status, ensure all involved devices are online.
Most issues can be resolved by power cycling the device, checking network connectivity, or consulting the manufacturer’s online support resources. Many smart home apps also offer built-in diagnostic tools.
| Key Point | Brief Description |
|---|---|
| Preparation is Key | Gather tools, check Wi-Fi, and plan device placement before starting. |
| Phased Installation | Install devices sequentially: network/hub, then plugs, then lights/thermostat. |
| Focus on Core Devices | Prioritize smart plugs, bulbs, thermostats, and a central voice assistant for initial setup. |
| Automate & Optimize | Create routines and test automations to unlock the full potential of your smart home. |
Frequently Asked Questions About DIY Smart Home Installation
The most crucial step is thorough pre-installation planning. This includes verifying Wi-Fi strength, gathering necessary tools, and selecting compatible devices that align with your chosen smart home ecosystem. Proper preparation minimizes delays and ensures a smooth setup process within the allotted time.
Yes, for intermediate users focusing on core devices like smart plugs, bulbs, and a thermostat, a functional smart home setup is achievable within three hours. The key is to follow a phased approach, prioritize easy-to-install devices first, and utilize manufacturer-provided app guidance efficiently.
Smart plugs and smart bulbs are generally the fastest to install, as they often require no wiring. A smart speaker/hub is also a quick setup. Smart thermostats and light switches might take slightly longer due to potential wiring, but are still manageable for intermediate DIYers.
Common issues like device connectivity can often be resolved by restarting the device, checking your Wi-Fi signal, or power cycling your router. Most smart home apps offer troubleshooting guides, and manufacturer support websites are valuable resources for specific device problems.
Wi-Fi stability is paramount for a seamless smart home experience. A strong, consistent signal ensures reliable communication between your devices and your control hub. Weak or intermittent Wi-Fi can lead to devices going offline, automations failing, and overall system unresponsiveness.
Looking Ahead
The rapid advancements in smart home technology, particularly the ongoing push for universal interoperability standards like Matter, signal a future where DIY Smart Home Installation will become even more accessible and streamlined. The focus on user-friendly interfaces and robust device ecosystems means that intermediate users can expect continued simplification of setup processes and enhanced integration capabilities. As new devices hit the market with improved out-of-the-box experiences, the prospect of installing a comprehensive smart home in a matter of hours will only become more realistic, empowering more homeowners to embrace intelligent living without professional assistance. This trend underscores a significant shift towards consumer-centric design in home automation.


